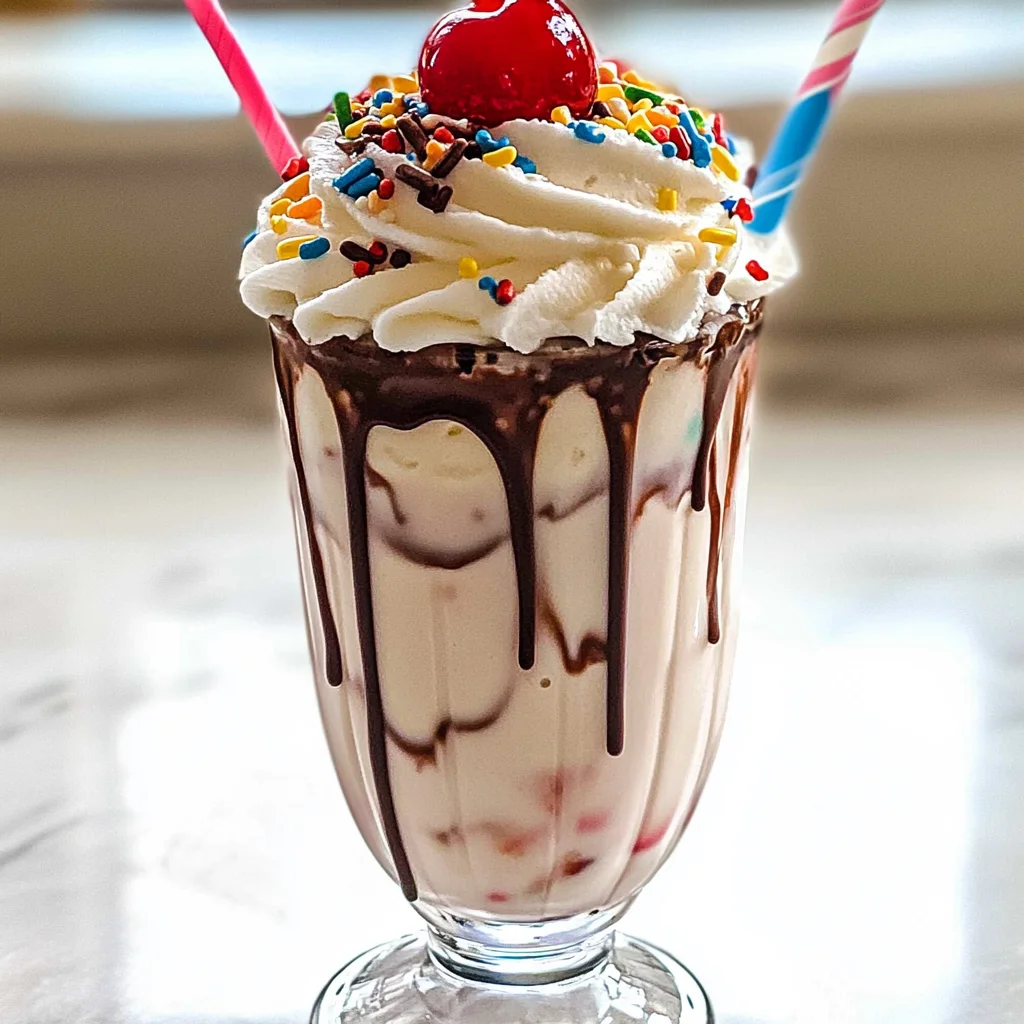
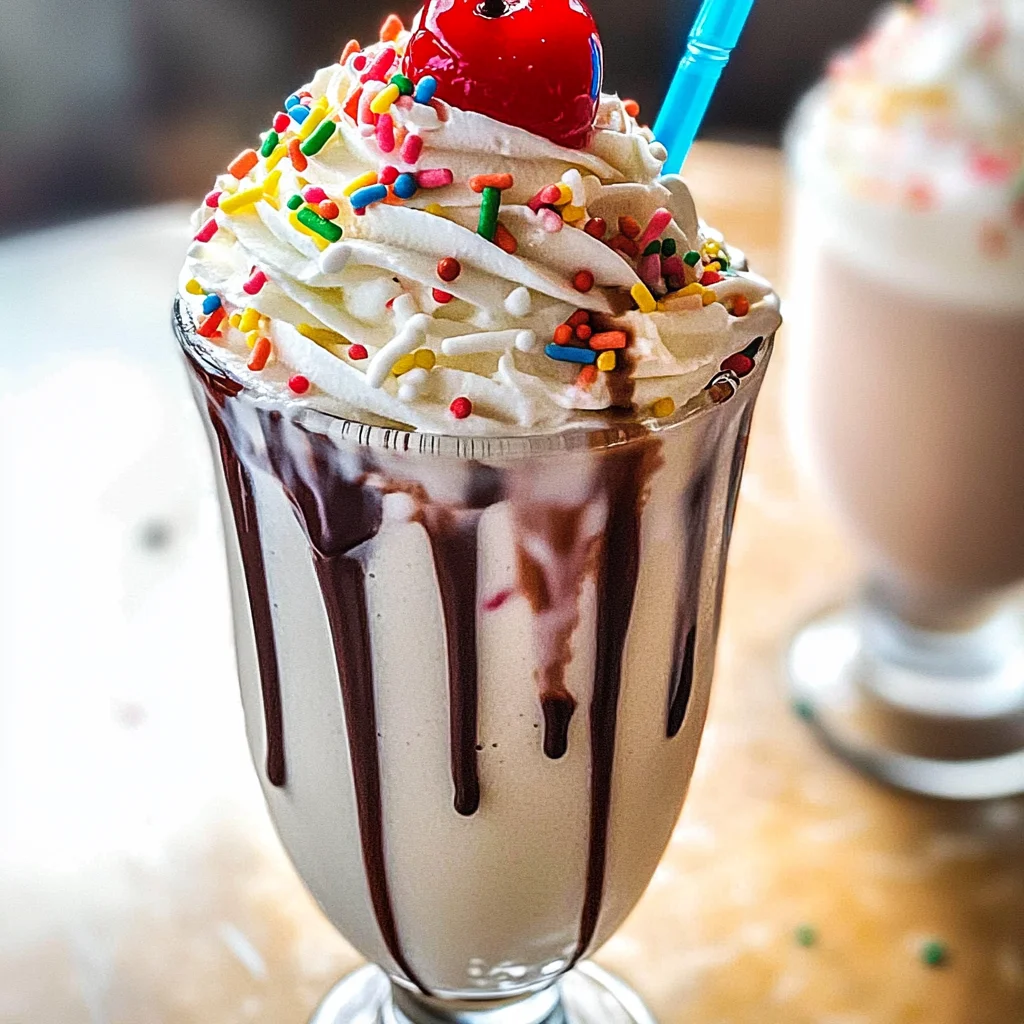
Delicious, creamy homemade milkshakes are a treat perfect for any occasion! This milkshake recipe offers an easy way to indulge in a classic dessert. Whether it’s a hot summer day or a cozy evening at home, these milkshakes bring joy to every sip. With simple ingredients and endless flavor possibilities, this recipe stands out as a delightful addition to your culinary repertoire.
Jump to:
- Why You’ll Love This Recipe
- Tools and Preparation
- Essential Tools and Equipment
- Importance of Each Tool
- Ingredients
- For the Milkshake Base
- For Garnishing
- Optional Flavor Boosts
- How to Make Milkshake Recipe
- Step 1: Blend the Ingredients
- Step 2: Serve and Garnish
- How to Serve Milkshake Recipe
- Classic Presentation
- Fun Straws
- Topping Bar
- Float Style
- How to Perfect Milkshake Recipe
- Best Side Dishes for Milkshake Recipe
- Common Mistakes to Avoid
- Storage & Reheating Instructions
- Refrigerator Storage
- Freezing Milkshake Recipe
- Reheating Milkshake Recipe
- Frequently Asked Questions
- How To Make A Milkshake Recipe?
- Can I Customize My Milkshake Recipe?
- What Is The Best Milk For A Milkshake Recipe?
- How To Make A Dairy-Free Milkshake Recipe?
- Final Thoughts
- 📖 Recipe Card
Why You’ll Love This Recipe
- Easy to Make: This milkshake recipe requires minimal effort and time, making it perfect for anyone looking to whip up a quick treat.
- Customizable Flavors: Enjoy the flexibility of choosing from vanilla, chocolate, or even fruity variations like strawberry.
- Perfect for Any Occasion: Whether it’s a birthday party or a casual family night, these milkshakes will impress guests of all ages.
- Fun Toppings: The garnishes offer an opportunity for creativity—sprinkles, cherries, and whipped cream make every glass unique!
- Indulgent Treat: With rich flavors and creamy texture, this shake is an indulgent dessert that satisfies cravings.
Tools and Preparation
Before you dive into making this delightful milkshake recipe, gather your tools. Having everything ready will ensure a smooth preparation process.
Essential Tools and Equipment
- Blender
- Tall glass
- Measuring cups
- Spoon
Importance of Each Tool
- Blender: A powerful blender is key to achieving that creamy, smooth consistency you want in your milkshake.
- Tall Glass: Using a tall glass not only makes for an impressive presentation but also provides space for generous toppings.
- Measuring Cups: Accurate measurements help maintain the ideal balance of flavors in your milkshake.
Ingredients
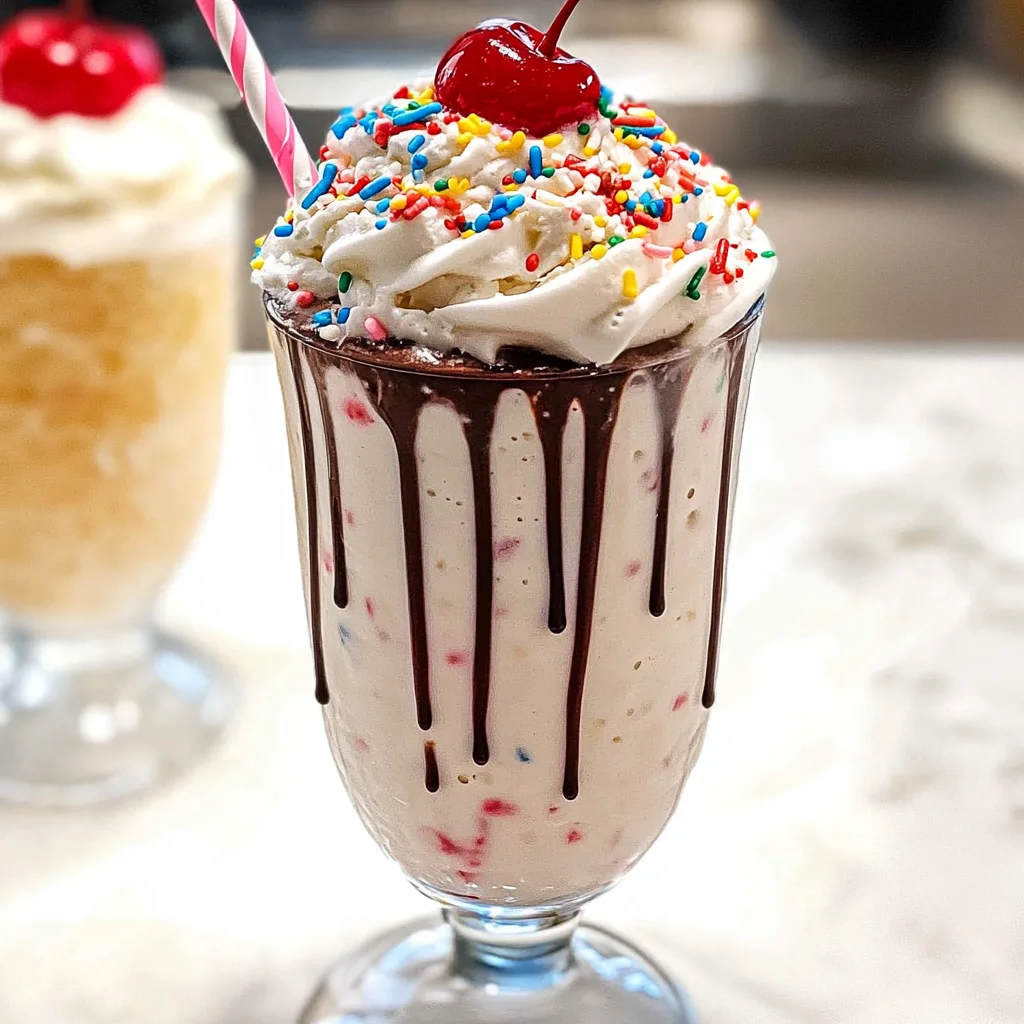
Delicious, creamy homemade milkshakes in a variety of flavors!
For the Milkshake Base
- 1½ cups ice cream (about 4 large scoops, vanilla or chocolate)
- ¼ cup milk (full fat)
For Garnishing
- Whipped topping (for garnish)
- Sprinkles (for garnish)
- Maraschino cherries or strawberries (for garnish)
Optional Flavor Boosts
- ¼ cup chocolate syrup (for chocolate ice cream)
- 4 strawberries (sliced)
How to Make Milkshake Recipe
Step 1: Blend the Ingredients
- In a blender, combine the ice cream and milk.
- If you’re making chocolate or strawberry versions, add any optional flavorings like chocolate syrup or sliced strawberries.
- Blend until the mixture is smooth and creamy.
Step 2: Serve and Garnish
- Pour the blended milkshake into a tall glass.
- Top with whipped topping, sprinkles, and a maraschino cherry or sliced strawberries as desired. Enjoy!
With this easy milkshake recipe, you’ll create mouthwatering shakes that everyone will love!
How to Serve Milkshake Recipe
Serving a milkshake is an art that can elevate your dessert experience. Here are some fun and creative ways to enjoy your homemade milkshake.
Classic Presentation
- Use a tall glass for a traditional look. This can showcase the layers and toppings beautifully.
Fun Straws
- Add colorful or themed straws. They not only add flair but also make sipping more enjoyable.
Topping Bar
- Set up a topping bar with various garnishes. Allow guests to customize their milkshakes with sprinkles, fruits, and whipped cream.
Float Style
- Transform your milkshake into a float by adding soda on top. A splash of lemon-lime soda works wonders!
How to Perfect Milkshake Recipe
Making the perfect milkshake requires a few key tips to ensure smoothness and flavor balance.
- Start with Cold Ingredients: Ensure your ice cream and milk are cold for the best consistency.
- Blend Gradually: Begin blending at a low speed to avoid splattering, then increase to high until smooth.
- Adjust Thickness: If your milkshake is too thick, add more milk; if too thin, add more ice cream.
- Experiment with Flavors: Don’t hesitate to mix in fruit purees or syrups for unique flavors.
- Garnish Generously: Use whipped topping, sprinkles, and fruit for added texture and visual appeal.
- Serve Immediately: For the best taste and texture, serve your milkshake right after making it.
Best Side Dishes for Milkshake Recipe
Pairing side dishes with your milkshake can create a delightful meal or snack experience. Here are some great options:
- Cheese Fries: Crispy fries topped with melted cheese make for a savory contrast to sweet shakes.
- Mini Burgers: Bite-sized burgers provide a hearty complement that balances sweetness.
- Fruit Skewers: Fresh fruit adds a refreshing touch and pairs well with creamy flavors.
- Chicken Nuggets: Crispy nuggets offer comfort food vibes that go perfectly with any milkshake.
- Veggie Sticks with Dip: Crunchy veggies like carrots and celery paired with dip offer a healthy option.
- Cookies: Classic chocolate chip or oatmeal cookies are perfect for dipping into your shake!
- Pancake Bites: Mini pancakes drizzled with syrup can bring breakfast vibes to dessert time.
- Popcorn: Sweet or savory popcorn provides an interesting crunch alongside creamy shakes.
Common Mistakes to Avoid
Sometimes making a milkshake can lead to some common errors. Here are mistakes you should avoid for the best results.
- Bold ingredient choices: Not using high-quality ice cream can result in a bland milkshake. Always choose a rich and creamy variety for the best flavor.
- Bold blending time: Over-blending can make your milkshake too runny. Blend just until smooth to maintain that thick, creamy texture.
- Bold measurement accuracy: Eyeballing ingredients might lead to an unbalanced flavor. Use measuring cups for precision, especially with milk and syrup.
- Bold garnish neglect: Skipping garnishes can make your milkshake less appealing. Add whipped topping, sprinkles, or fruit for an enticing finish.
- Bold temperature issues: Starting with warm ice cream will yield a soupy shake. Ensure your ice cream is cold right from the freezer.
- Bold forgetting optional flavors: Not experimenting with flavors can limit creativity. Try adding fruits or syrups for unique twists.
Storage & Reheating Instructions
Refrigerator Storage
- Store any leftover milkshake in an airtight container.
- It’s best consumed within 1-2 days for optimal taste and texture.
Freezing Milkshake Recipe
- Pour the milkshake into a freezer-safe container to prevent ice crystals.
- The milkshake will last up to 2 months in the freezer.
Reheating Milkshake Recipe
- Oven: Not recommended; milkshakes are best served cold.
- Microwave: You can gently warm it on low power if needed, but this could alter the texture.
- Stovetop: Heat slowly on low, stirring continuously; however, it’s better enjoyed cold.
Frequently Asked Questions
Here are some common questions about this delicious milkshake recipe.
How To Make A Milkshake Recipe?
To make a milkshake recipe, blend ice cream and milk until smooth, then pour it into a glass and add your favorite toppings.
Can I Customize My Milkshake Recipe?
Yes! You can customize your milkshake recipe by adding different flavors such as chocolate syrup, fruit purees, or even nut butters.
What Is The Best Milk For A Milkshake Recipe?
Whole milk is ideal for a creamy consistency, but you can also use almond or oat milk for dairy-free options.
How To Make A Dairy-Free Milkshake Recipe?
To make a dairy-free milkshake recipe, substitute traditional ice cream with dairy-free ice cream and use plant-based milk like almond or coconut.
Final Thoughts
This Milkshake Recipe is not just delicious; it’s also versatile! Whether you prefer classic vanilla or fruity strawberry flavors, you can easily customize it to suit your taste. Don’t hesitate to experiment with different toppings and mix-ins for a unique twist on this beloved treat!
Did You Enjoy Making This Recipe? Please rate this recipe with ⭐⭐⭐⭐⭐ or leave a comment.
📖 Recipe Card
Print
Milkshake Recipe
- Total Time: 0 hours
- Yield: Serves 2
Description
Indulge in the ultimate homemade Milkshake Recipe that combines creamy texture with delightful flavors! This easy-to-make milkshake is perfect for any occasion, from hot summer days to cozy evenings at home. With just a few simple ingredients, you can create a variety of delicious shakes that will please anyone’s palate. Customize your milkshake with fun toppings like whipped cream, sprinkles, or fresh fruit to make each glass unique. Whether you prefer classic vanilla, rich chocolate, or fruity strawberry variations, this recipe is an exciting addition to your dessert repertoire. Get ready to enjoy a refreshing treat that brings joy in every sip!
Ingredients
- 1½ cups ice cream (vanilla or chocolate)
- ¼ cup full-fat milk
- Whipped topping (for garnish)
- Sprinkles (for garnish)
- Maraschino cherries or fresh strawberries (for garnish)
Instructions
- In a blender, combine the ice cream and milk.
- For flavored variations, add optional flavorings like chocolate syrup or sliced strawberries.
- Blend until the mixture is smooth and creamy.
- Pour the milkshake into a tall glass and garnish with whipped topping, sprinkles, and cherries or strawberries as desired.
- Prep Time: 5 minutes
- Cook Time: N/A
- Category: Dessert
- Method: Blending
- Cuisine: American
Nutrition
- Serving Size: 1 serving
- Calories: 400
- Sugar: 50g
- Sodium: 120mg
- Fat: 18g
- Saturated Fat: 12g
- Unsaturated Fat: 6g
- Trans Fat: 0g
- Carbohydrates: 53g
- Fiber: 0g
- Protein: 7g
- Cholesterol: 60mg