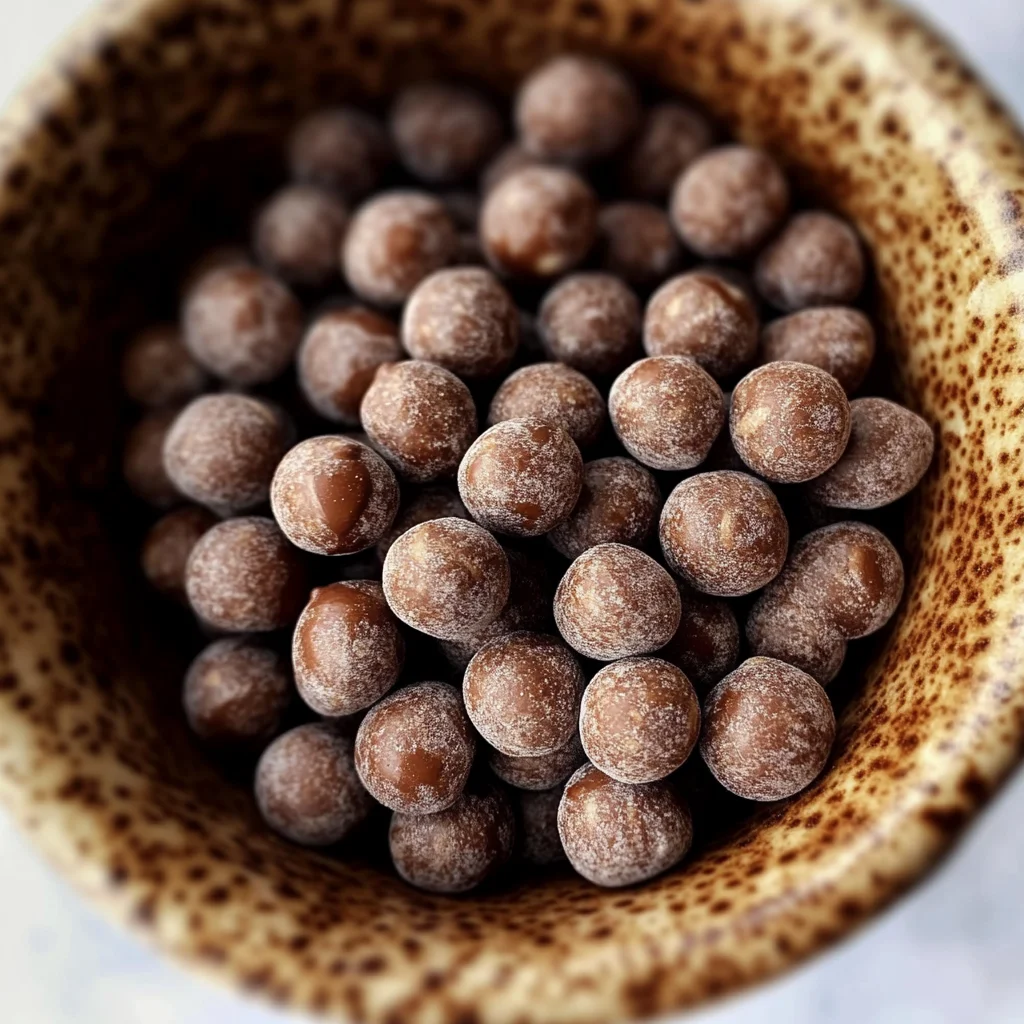
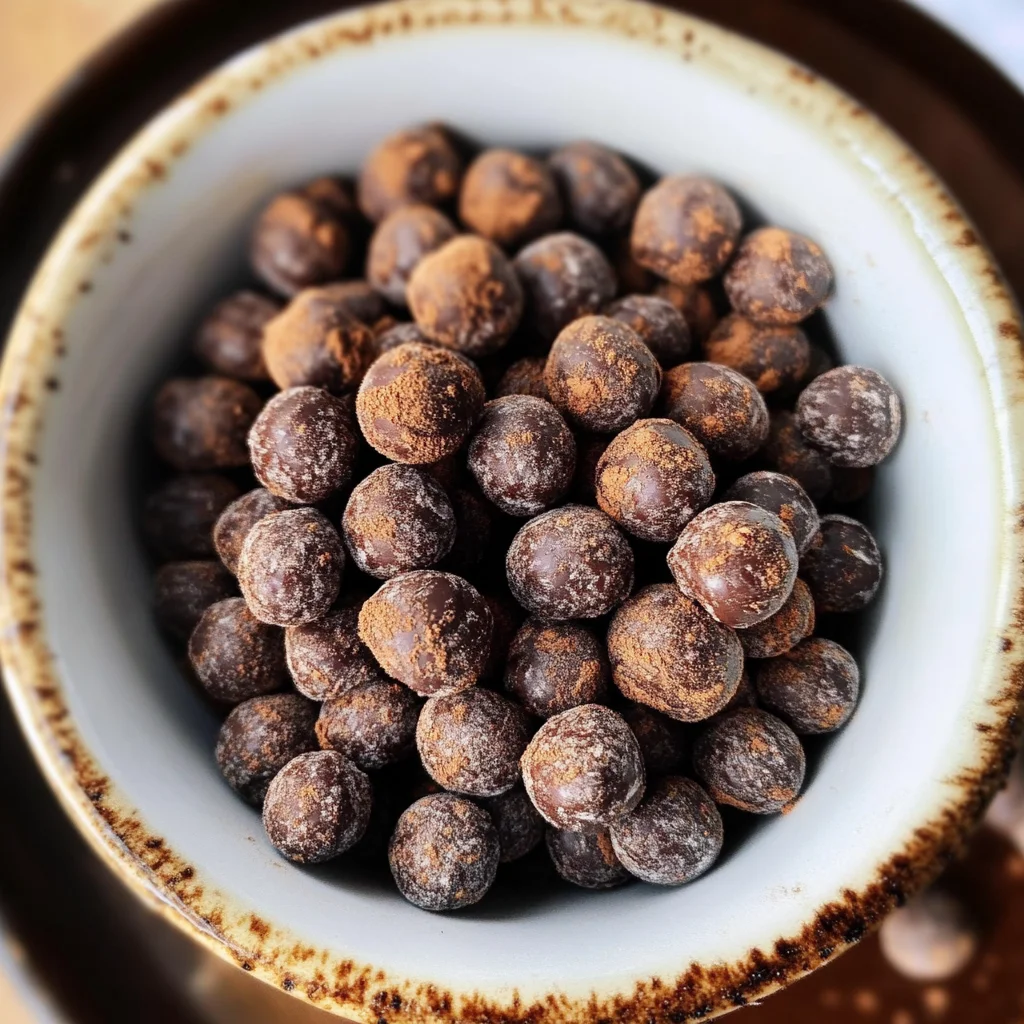
This Chocolate Cereal (Homemade Cocoa Puffs) is a delightful treat that combines nutrition and flavor, making it perfect for breakfast or as a snack. With just four simple ingredients, this gluten-free and dairy-free cereal is easy to prepare and will satisfy both kids and adults alike. Enjoy these crunchy cocoa puffs with your favorite dairy-free milk or as a tasty topping on yogurt!

Jump to:
- Why You’ll Love This Recipe
- Tools and Preparation
- Essential Tools and Equipment
- Importance of Each Tool
- Ingredients
- For the Chocolate Cereal:
- How to Make Chocolate Cereal (Homemade Cocoa Puffs)
- Step 1: Mix Nut Butter and Syrup
- Step 2: Combine Dry Ingredients
- Step 3: Form Dough
- Step 4: Preheat Oven
- Step 5: Shape Dough
- Step 6: Cut Into Pieces
- Step 7: Bake Cereal Balls
- Step 8: Cool and Serve
- How to Serve Chocolate Cereal (Homemade Cocoa Puffs)
- With Dairy-Free Milk
- Topped with Fresh Fruits
- Mixed into Yogurt
- As a Snack on its Own
- How to Perfect Chocolate Cereal (Homemade Cocoa Puffs)
- Best Side Dishes for Chocolate Cereal (Homemade Cocoa Puffs)
- Common Mistakes to Avoid
- Storage & Reheating Instructions
- Refrigerator Storage
- Freezing Chocolate Cereal (Homemade Cocoa Puffs)
- Reheating Chocolate Cereal (Homemade Cocoa Puffs)
- Frequently Asked Questions
- Can I use other types of flour?
- How can I customize my chocolate cereal?
- Is this recipe suitable for kids?
- How long does it take to prepare Chocolate Cereal (Homemade Cocoa Puffs)?
- What can I serve with my homemade cocoa puffs?
- Final Thoughts
- 📖 Recipe Card
Why You’ll Love This Recipe
- Quick and Easy: With just four ingredients, this recipe comes together in no time, making it perfect for busy mornings.
- Healthy Alternative: Free from refined sugars and animal products, you can indulge in chocolatey goodness without guilt.
- Versatile Enjoyment: Serve it with milk, add fruit, or enjoy it straight out of the bowl – the options are endless!
- Kid-Friendly Fun: Kids love the fun shapes and chocolate flavor, making it a hit for breakfast or snacks.
- Batch-Friendly: Make a large batch to keep on hand for quick meals throughout the week.
Tools and Preparation
Before diving into the recipe, gather your tools to ensure a smooth cooking experience.
Essential Tools and Equipment
- Mixing bowl
- Spoon
- Baking sheet
- Parchment paper or silicone mat
- Knife
Importance of Each Tool
- Mixing bowl: A large mixing bowl allows ample space for combining all your ingredients without mess.
- Baking sheet: This tool is essential for baking your chocolate cereal to achieve that perfect crunch.
- Parchment paper or silicone mat: Using these helps prevent sticking, making cleanup easier after baking.
Ingredients
This healthy chocolate cereal has just 4 ingredients and is gluten-free, dairy-free, and refined sugar-free, made with simple, wholesome pantry staples. Both kids and adults will love these homemade cocoa puffs!
For the Chocolate Cereal:
- 2/3 cup oat flour (gluten-free if needed)
- 3 Tbsp maple syrup (or any other liquid sweetener)
- 3 1/2 Tbsp nut/seed butter (of choice)
- 2 1/2 Tbsp cocoa powder (or cacao powder)
How to Make Chocolate Cereal (Homemade Cocoa Puffs)
Follow these steps to create your delicious homemade chocolate cereal.
Step 1: Mix Nut Butter and Syrup
Combine the nut/seed butter and maple syrup in a mixing bowl. Stir well using a spoon until fully blended.
Step 2: Combine Dry Ingredients
Add the oat flour and cocoa powder into the bowl. Mix again until everything is well incorporated.
Step 3: Form Dough
Use your hands to knead the mixture into a dough. If it’s too dry, add more maple syrup or nut/seed butter. If too wet, gradually add more oat flour one teaspoon at a time.
Step 4: Preheat Oven
Preheat the oven to 320 °F (160 °C). Line a large baking sheet with parchment paper or a silicone mat for easy cleanup.
Step 5: Shape Dough
Divide the dough into four pieces. Roll each piece into ropes about 1 inch thick.
Step 6: Cut Into Pieces
Use a knife to cut each rope into smaller pieces approximately ½–¾-inch thick. Roll each piece into balls with your hands; you should yield around 120-140 balls.
Step 7: Bake Cereal Balls
Transfer the shaped cereal balls onto the prepared baking sheet with space between them. Bake for about 10 minutes, keeping an eye on them not to overbake.
Step 8: Cool and Serve
Once baked, let them cool completely. The homemade cocoa puffs will firm up as they cool down. Enjoy your chocolate cereal balls with your favorite dairy-free milk or add some fruit for extra flavor!
How to Serve Chocolate Cereal (Homemade Cocoa Puffs)
Serving your homemade chocolate cereal can be as delightful as making it! There are numerous ways to enjoy these cocoa puffs that both kids and adults will appreciate.
With Dairy-Free Milk
- Almond milk: A nutty flavor that pairs beautifully with the chocolate.
- Coconut milk: Adds a tropical twist with a creamy texture.
- Oat milk: A smooth and naturally sweet option that enhances the cocoa taste.
Topped with Fresh Fruits
- Bananas: Sliced bananas add natural sweetness and a soft texture.
- Berries: Strawberries, blueberries, or raspberries provide a burst of freshness and color.
- Chopped apples: Crunchy and juicy, chopped apples create a great contrast to the chocolate puffs.
Mixed into Yogurt
- Dairy-free yogurt: Stirring in chocolate cereal gives a fun crunch to your morning routine.
- Layered parfaits: Create a beautiful breakfast parfait by layering yogurt, chocolate cereal, and fruits.
As a Snack on its Own
- Just grab a handful for an easy snack anytime during the day!
- Pack them in a snack bag for on-the-go munching.
How to Perfect Chocolate Cereal (Homemade Cocoa Puffs)
Perfecting your chocolate cereal involves attention to detail in both preparation and baking. Here are some tips to ensure your cocoa puffs turn out just right.
- Use fresh ingredients: Ensure your oat flour and cocoa powder are fresh for the best flavor.
- Adjust sweetness: If you prefer sweeter cereal, feel free to add more maple syrup according to your taste.
- Check dough consistency: The dough should be pliable but not too sticky. Adjust with oat flour or nut/seed butter as needed.
- Bake carefully: Keep an eye on the cereal while baking; overbaking can lead to burnt pieces.
- Cool completely: Allow the cereal to cool fully before storing; this helps maintain its crunchiness.
- Store properly: Keep your homemade cocoa puffs in an airtight container to stay fresh longer.
Best Side Dishes for Chocolate Cereal (Homemade Cocoa Puffs)
Pairing side dishes with your chocolate cereal can elevate your breakfast experience. Here are some great options that complement the flavors perfectly.
- Fruit Salad: A colorful mix of seasonal fruits adds freshness that balances the sweetness of the cocoa puffs.
- Nut Butter Toast: Whole grain toast spread with almond or peanut butter provides protein and healthy fats.
- Smoothie Bowl: A thick smoothie topped with granola or additional fruits makes for a nutritious side dish.
- Granola Bars: Homemade granola bars offer a chewy texture that contrasts nicely with crunchy cocoa puffs.
- Chia Seed Pudding: Creamy chia pudding topped with fruits makes for a deliciously satisfying addition.
- Vegetable Sticks with Hummus: A savory side of crunchy veggies paired with hummus balances out the sweet flavors of the cereal.
Common Mistakes to Avoid
Making your own chocolate cereal can be fun and rewarding, but there are a few common pitfalls that can affect the outcome.
- Using the wrong flour: Not all flours behave the same. Stick with oat flour for the best texture, and ensure it’s gluten-free if needed.
- Overmixing the dough: Mixing too much can lead to tough cereal. Combine ingredients until just mixed for optimal results.
- Skipping the cooling step: Cooling is crucial for firming up your chocolate cereal. Don’t rush this process; let them cool completely before enjoying.
- Not measuring ingredients accurately: Precision is key in baking. Use proper measuring tools to ensure the right balance of flavors and textures.
- Ignoring oven temperature: Baking at the incorrect temperature may result in burned or undercooked puffs. Always preheat your oven and check it with an oven thermometer if unsure.
Storage & Reheating Instructions
Refrigerator Storage
- Store chocolate cereal in an airtight container.
- It will stay fresh for up to one week.
Freezing Chocolate Cereal (Homemade Cocoa Puffs)
- Place cooled chocolate cereal in a freezer-safe bag or container.
- It can be frozen for up to three months for longer storage.
Reheating Chocolate Cereal (Homemade Cocoa Puffs)
- Oven: Preheat to 300°F (150°C) and bake for about 5 minutes to restore crispness.
- Microwave: Heat on low power for 10-15 seconds, checking frequently to avoid sogginess.
- Stovetop: Warm in a non-stick pan over low heat, stirring gently until warmed through.
Frequently Asked Questions
Here are some common questions about making Chocolate Cereal (Homemade Cocoa Puffs).
Can I use other types of flour?
You can experiment with other flours, but oat flour provides the best results due to its texture and flavor compatibility.
How can I customize my chocolate cereal?
Feel free to add nuts, seeds, or dried fruits for extra flavor and nutrition. Just remember to adjust your dry ingredients accordingly.
Is this recipe suitable for kids?
Absolutely! This chocolate cereal is healthy and fun to make, making it perfect for kids who enjoy getting involved in the kitchen.
How long does it take to prepare Chocolate Cereal (Homemade Cocoa Puffs)?
This recipe takes about 30 minutes from start to finish, making it a quick option for breakfast or snacks.
What can I serve with my homemade cocoa puffs?
Enjoy these delicious cereal balls with your choice of dairy-free milk or sprinkle them over yogurt or smoothie bowls!
Final Thoughts
This Chocolate Cereal (Homemade Cocoa Puffs) recipe is not only simple but also versatile. With just four ingredients, you can create a healthy snack that both kids and adults will adore. Feel free to customize it by adding your favorite nuts or seeds. Try making this delightful treat today!
Did You Enjoy Making This Recipe? Please rate this recipe with ⭐⭐⭐⭐⭐ or leave a comment.
📖 Recipe Card
Print
Chocolate Cereal (Homemade Cocoa Puffs)
- Total Time: 20 minutes
- Yield: Approximately 120 cereal balls 1x
Description
Indulge in the delightful crunch of Chocolate Cereal (Homemade Cocoa Puffs) – a simple yet satisfying treat perfect for breakfast or snacking. With just four wholesome ingredients, this gluten-free and dairy-free recipe ensures you enjoy a chocolatey delight without guilt. These homemade cocoa puffs are not only quick to prepare but also versatile enough to be enjoyed with your favorite dairy-free milk, as a topping for yogurt, or even straight from the bowl. Kids and adults alike will adore the fun shapes and rich flavor, making it an ideal addition to your morning routine or an afternoon snack.
Ingredients
- 2/3 cup oat flour (gluten-free if needed)
- 3 Tbsp maple syrup (or any other liquid sweetener)
- 3 1/2 Tbsp nut/seed butter (of choice)
- 2 1/2 Tbsp cocoa powder (or cacao powder)
Instructions
- In a mixing bowl, combine nut/seed butter and maple syrup until smooth.
- Stir in oat flour and cocoa powder until fully mixed.
- Knead into a dough, adjusting moisture with more syrup or flour as needed.
- Preheat oven to 320°F (160°C) and line a baking sheet with parchment paper.
- Shape dough into ropes about 1 inch thick and cut into small pieces.
- Roll pieces into balls and place them on the baking sheet, ensuring space between each.
- Bake for approximately 10 minutes until firm; let cool completely.
- Prep Time: 10 minutes
- Cook Time: 10 minutes
- Category: Dessert
- Method: Baking
- Cuisine: American
Nutrition
- Serving Size: 15 balls (30g)
- Calories: 120
- Sugar: 5g
- Sodium: 10mg
- Fat: 6g
- Saturated Fat: 1g
- Unsaturated Fat: 5g
- Trans Fat: 0g
- Carbohydrates: 13g
- Fiber: 2g
- Protein: 3g
- Cholesterol: 0mg